TUNE YOUR BOARD

HOW TO TUNE YOUR FREEBORD

As a beginner, you have to commit to the idea that you’re snowboarding on pavement (not skateboarding). Just like learning to snowboard, it may take several days or weeks to get the hang of it – even if you rip on snow. Be patient and expect to fall down a few times. You’ll be ripping soon enough.

Some tricks and moves need more time and effort to master. But don’t get frustrated when your progress is not as fast as you expected. Patience is the answer.

FREEBORD TRUCKS

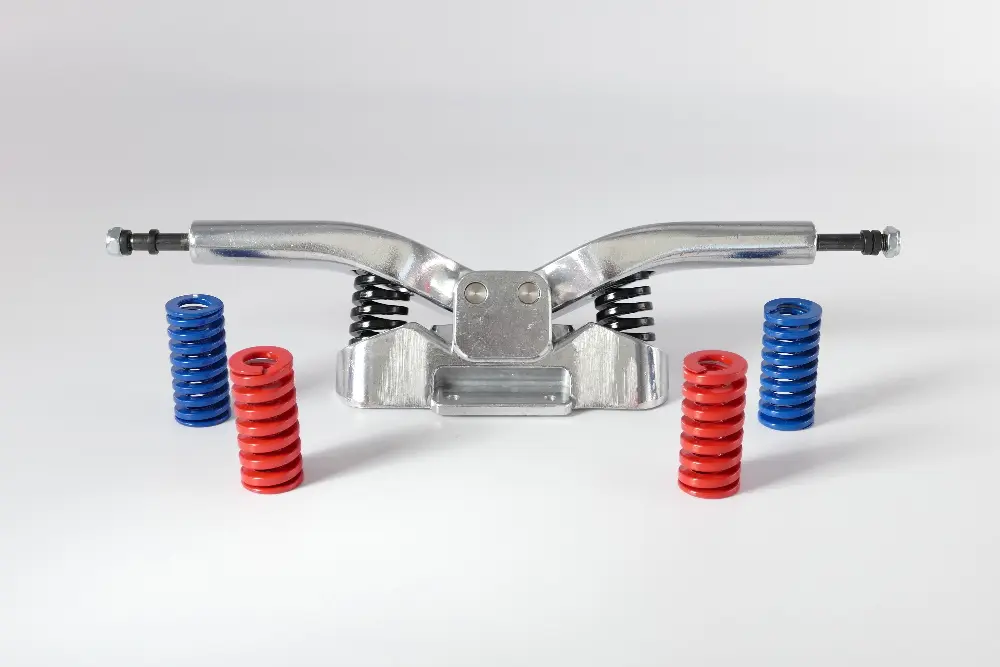
Freebord 5X Truck

Depending on your weight you will want to use the corresponding springs. Heavier riders will benefit from the hard springs, and lighter riders from the soft springs. We have available different spring tensions to adjust to any riding style and weight demands.

Soft springs

Standard springs

Hard springs

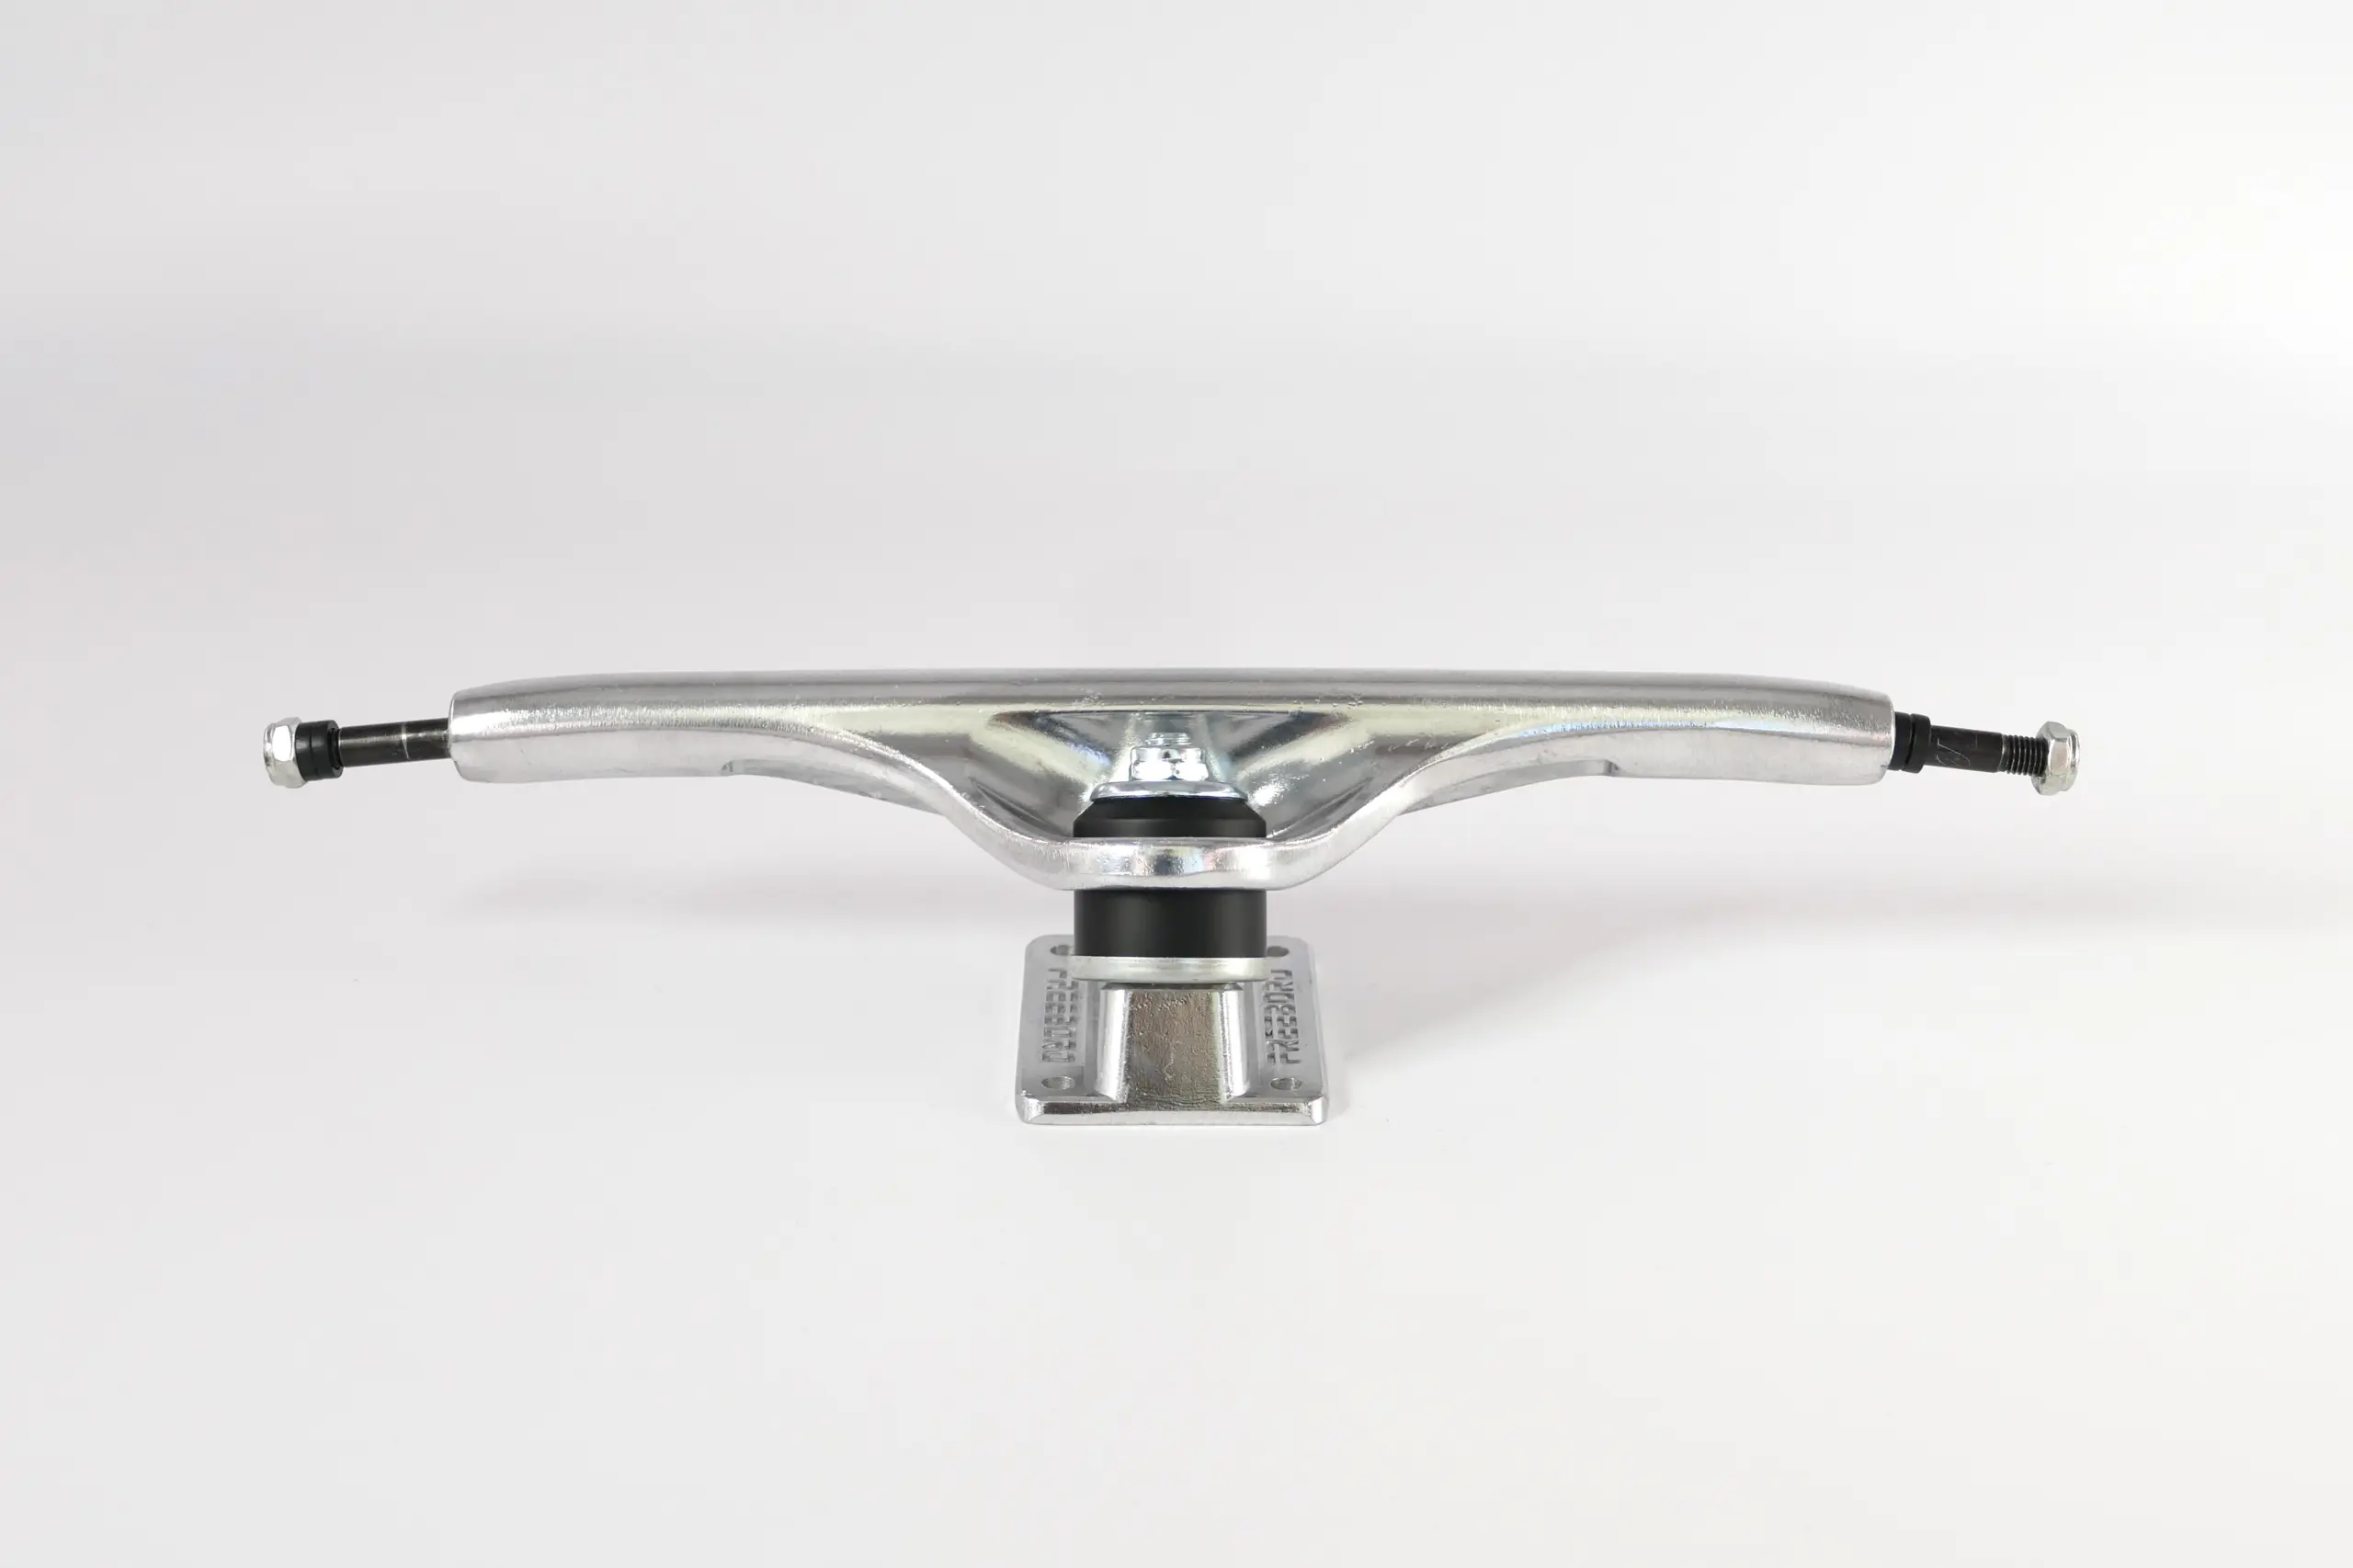
Freebord 5 Truck

One of the first thing you’ll want to do when you get your Freebord is adjust the tension of the hangar. This can be done by loosening or tightening the king pin nut. Small adjustments mean a lot and every rider is different. If you’re a smaller rider make them looser so that it’s easier to carve/slide, heavier riders do the opposite. Loose trucks carve more and slide less. Tighter trucks slide more and carve less. Set your front truck looser than your back truck to help initiate slides.

King pin nut

Is your pivot cup good? Set them to equal tension if you plan to ride switch at all.

Pivot cup

FREEBORD BINDINGS

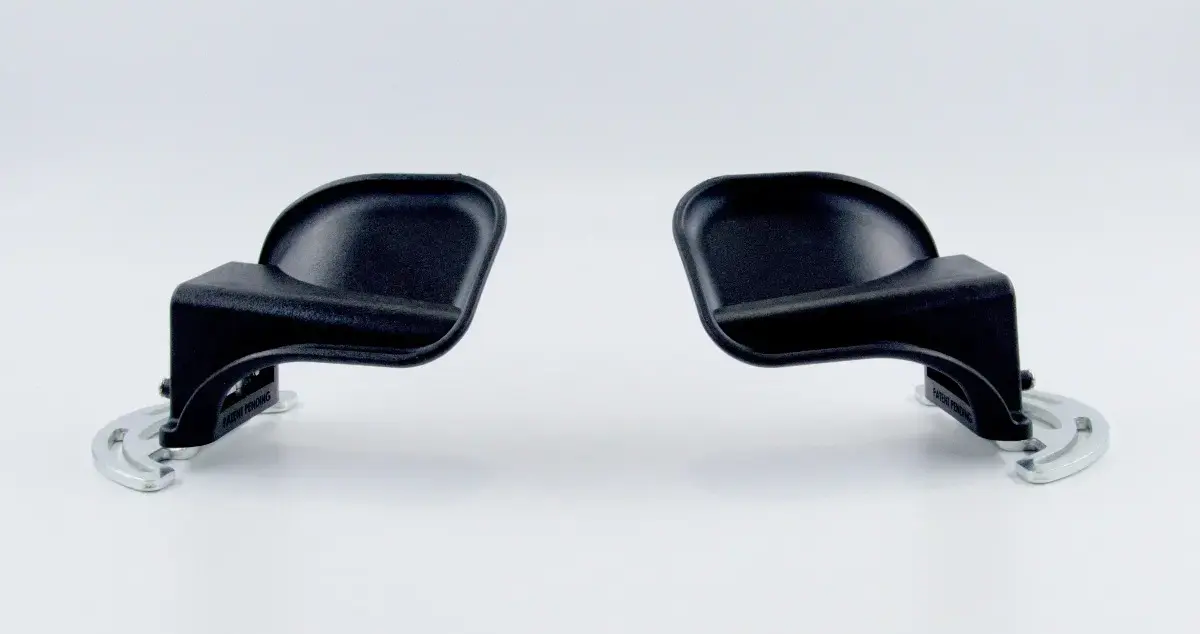
Make sure all screws and mounting hardware are tight. Do not tighten them too hard into the deck, as it could create stress fractures in the outer plys of your deck. You can adjust your bindings vertically and rotationally to allow a more custom stance. Bindings can be mounted according to rider’s preference. If the pre-drilled holes are not in the ideal spot, riders can drill new holes in the deck to get the stance they want. The decks are very rigid and can handle multiple drilled holes.

Topper

Adjust Height

Base

FREEBORD WHEELS

Center/Castor Wheel

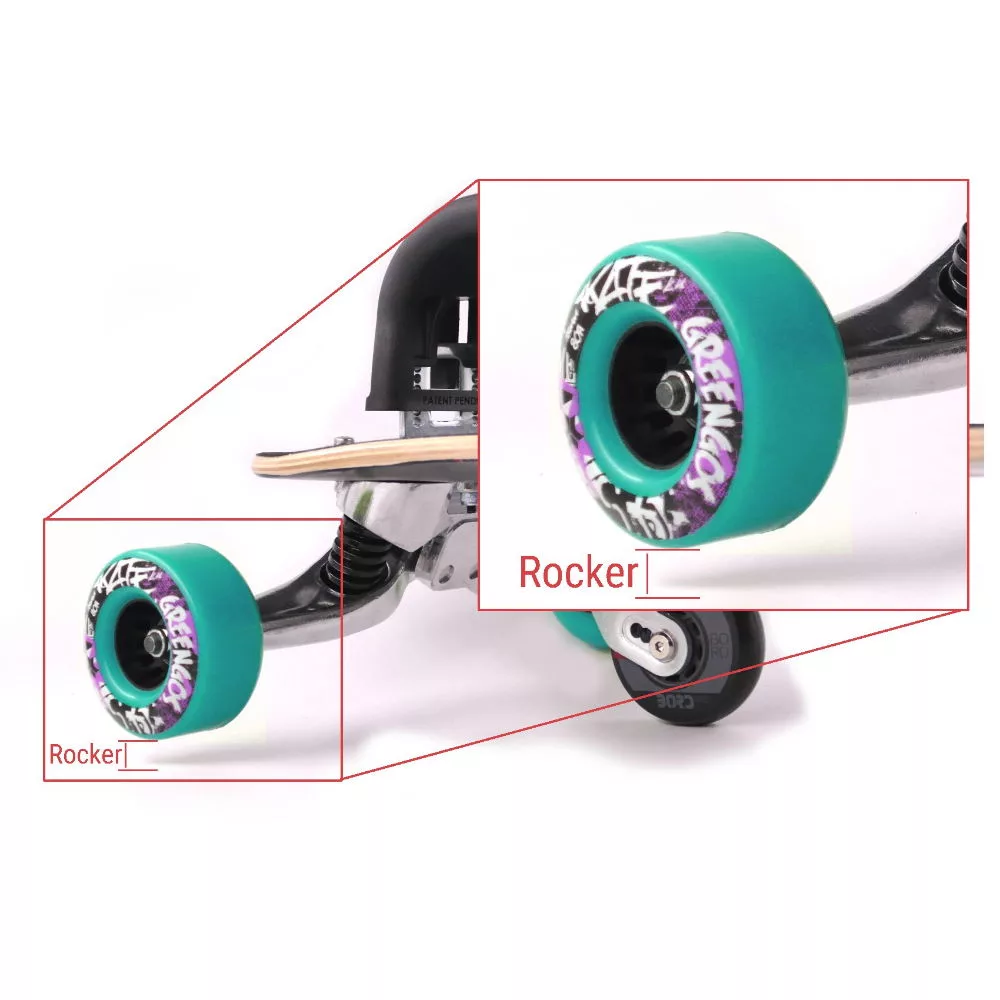
Your Freebord comes from the factory with the center wheel furthest from the board. The center wheels should be adjusted so that there’s a minimum finger widths clearance between the downhill edge wheels and the ground. The more extended (away from the deck) the center wheel, the less likely the rider is to catch a downhill edge. But they will have to deal with more rocker in this position and, therefore, have harder transitions between toe and heel side turns. As your outer wheels wear down, adjust the center wheels closer to the deck or use riser pads to maintain a consistent amount of rocker. Rocker is the distance between your edge wheels and the pavement. The more rocker. Always set your two center wheels to the same height.

Rocker on the Freebord 5X

On the Freebord 5X with it’s independent suspensions, we recommend to keep a small rocker of about a finger or 1cm. Just like on a Snowboard you go directly from edge to edge without “rocking”. Freeborders will have a harder time adjusting to a small rocker because they are used to keeping a big rocker on the old models.

Rocker on the Freebord 5

On the Freebord 5 with it’s traditional kingpin, we recommend to keep a minimum rocker of about two fingers or 3cm to help prevent catching an edge on small waves and bumps on the road. Other than on a Snowboard or on the Freebord 5X your rocker is limited.

Edge Wheels

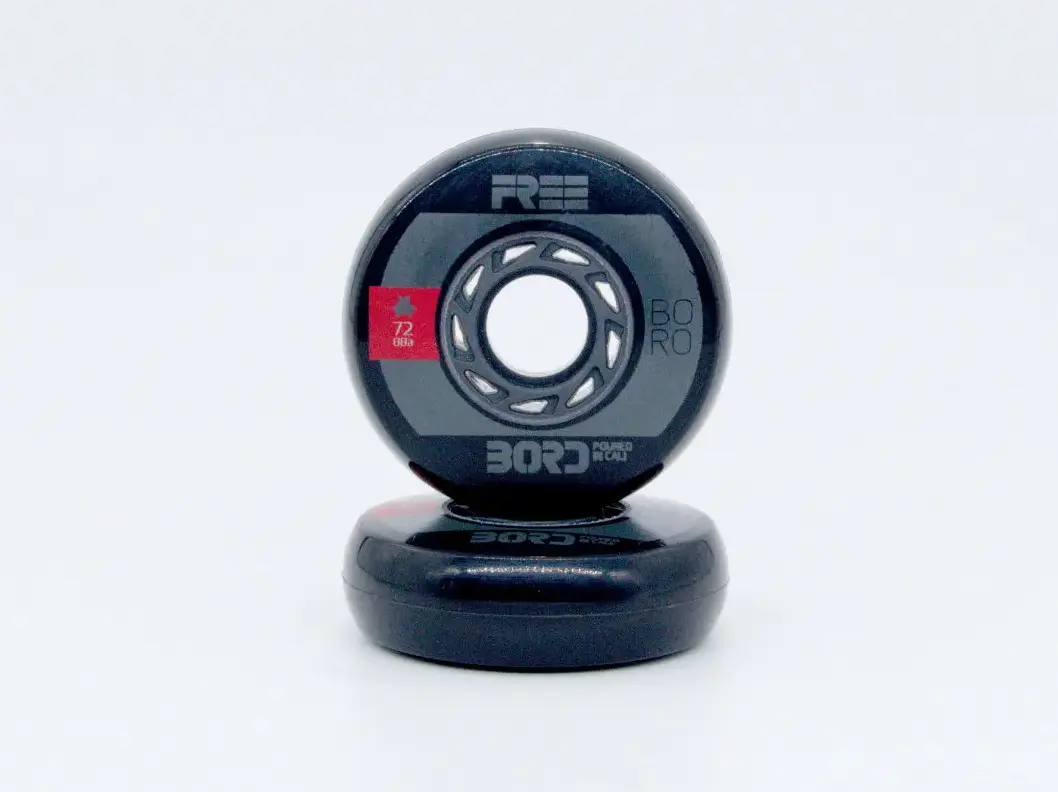
Over time, you will definitely have to replace your wheels. Wheels can last anywhere from 2 weeks to some years depending on how often and hard you ride, the type and steepness of the pavement you ride, how much you slide, and your weight.

Wheel Rotating

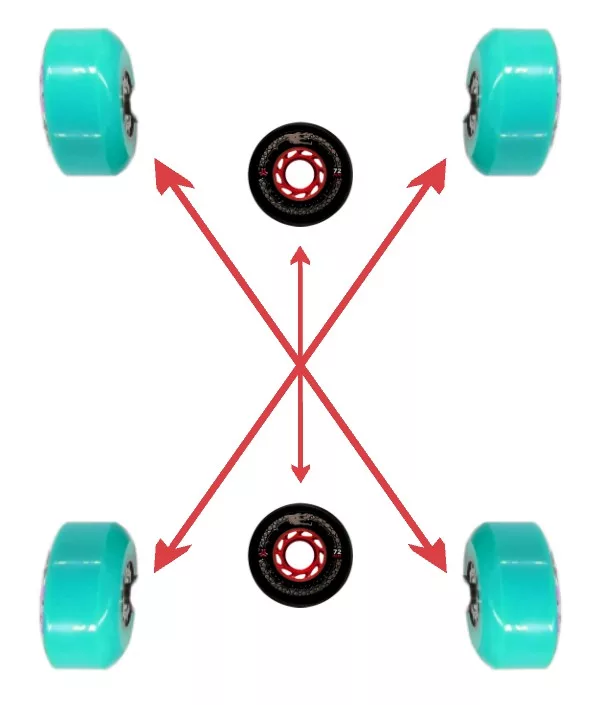
Most riders favor one side on their slides. To help your edge wheels last longer, rotate them every so often. Identify your heel and toe edge wheels. To rotate your wheels properly you will need to cross the wheels in the shape of an X. This means that your rear heel edge wheel will now be your front toe edge. Your front heel edge wheel will become your rear toe side wheel, etc.

The center wheels normally do not need to be rotated often. If you do notice your rear center getting smaller than the front, switch them around to counter the wear.


Instead of rotating all your wheels, you can also simply switch the topper of your bindings and adjust your stance. This way you wear and tear your wheels, trucks and deck evenly. If you ride switch as much as regular you might never have to rotate anything, but even the most advanced riders rotate from time to time.

CHANGE AND CLEAN BEARINGS

If your bearings are not spinning like they used to there are a few options. If you have removable shields like the Bones Reds then getting some bones speed cream will be the best option of re-lubing your bearings. You can use other products such as tri-flow or wd-40 but you will have to apply it much more often. If you have sealed bearings then you can soak them in a container of motor oil for 24 hours and the oil will work its way inside the bearing. The oil process can be used with any bearing type, sealed or not.

On your edge wheels

Unscrew the wheel nut and remove. Take your speed washer off the top and place it on your nut. Pull the edge wheel up just enough so that only the bottom bearing is still on the axle. Torque the wheel in a rocking motion as if you were giving a motorcycle some gas. The bearing should pop out of the wheel and will stay on the axle. Flip the wheel over and repeat.

Place both new or cleaned bearings onto the axle. Take the edge wheel, graphic side down, and push it down onto the axle to get the top bearing seated into the core of the wheel. Flip it over and push the remaining bearing in the back. At this point, you should have your wheel on the axle the correct way with both bearings in and a speed washer between the hanger and inside bearing. Now just put the outer speed washer on and tighten down your nuts. This process is faster than a bearing puller and you never have to touch the bearings so changing them on the road doesn’t have to be such a dirty process.

Center Wheel Bearings

First, remove your centers on one edge wheel. Place the center wheel on the axle of your hanger. The spacer in the center wheel will not go over the axle, so push down and it should pop the bearing out on the side touching your hand. Make sure when you press down your hand is clear of the top bearing.